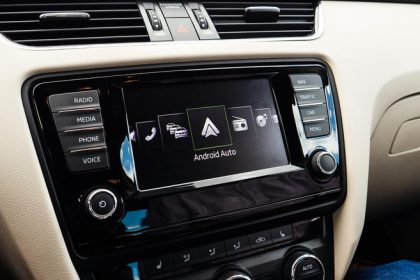
The Android Auto framework is very helpful for those who make a habit of connecting their Android phones directly to their cars, allowing you to quickly and easily call up features like music, directions, and more. That said, you may not always want to go through a whole combining sequence every time you have to go out to get groceries. Maybe you only plugged your Android in to charge it or to listen to music, and don’t feel like bothering with the rigmarole every time you head out for the day.
If you feel that Android Auto is becoming more of a hindrance to your driving experience than a feature, it is possible to disable the feature entirely and utilize your car’s stock radio configuration. To clarify, “disable entirely” doesn’t mean turning it off once the car starts each time, but turning the feature off completely, preventing it from starting up in the first place.
How to disable Android Auto
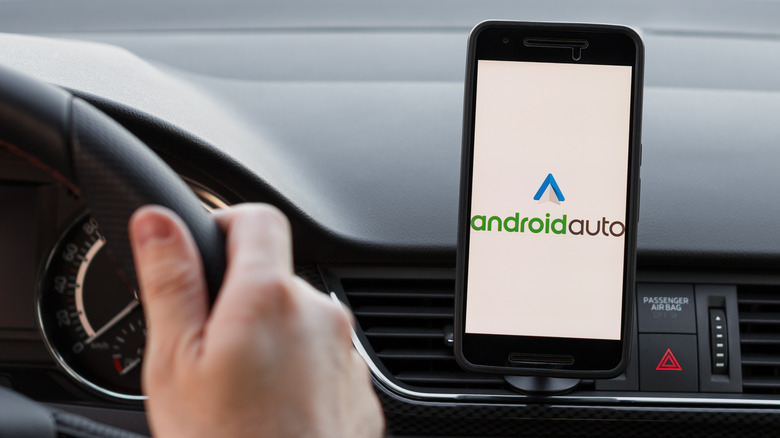
Typically, when you connect an Android Auto-equipped phone to a compatible car, the process starts up automatically, assuming you’ve gone through the Android Auto first-time setup on your smartphone previously. Here’s how to disable Android Auto.
Open your Android phone’s Settings app.
Tap the Apps menu. It may also be called “Apps & Notifications” or “App management.”
On the apps list, tap “See All Apps” to show your full app list.
Find and tap Android Auto on the app list.
On the Android Auto page, tap the “Disable” button.
Once you disable the Android Auto app, it should end any ongoing connections with your car. The disabling process only applies to Android phones running the newest version of AndroidOS. If your phone is running Android 9 or earlier, you can actually delete the Android Auto app entirely with these same steps — just tap “Uninstall” instead of Disable in the settings menu.
How to unpair your car from Android Auto
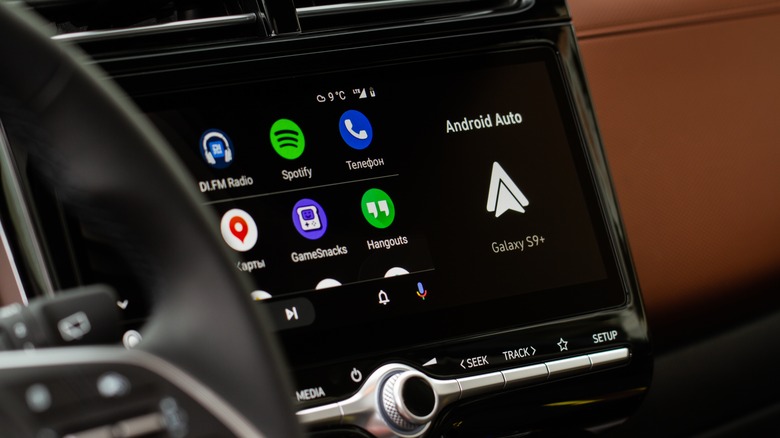
If your car is paired to your Android phone, then it will immediately recognize the phone upon connection and start up Android Auto. To prevent this process from occurring, you should unpair your car from your phone so they don’t sync up automatically. The best way to do this is to unpair the devices on both sides of the connection.
On your Android phone, open the Settings app.
Type “Android Auto” into the search bar.
Tap on Android Auto in the search results to see its settings.
Tap “Previously Connected Cars.” You may need to select an option that says “Additional settings in the app” first.
Tap the three dots on the top-right of the screen.
Tap “Forget all cars.”
On your car, find and open the Connections settings.
Select the Android Auto settings.
Select Disable smartphone integration.
The method to unpair your car from your phone on the car’s side will vary greatly depending on your car’s make and model. Consult your car’s owner’s manual for more detailed information on unpairing a smartphone from it.
How to disable Android Auto’s auto-startup
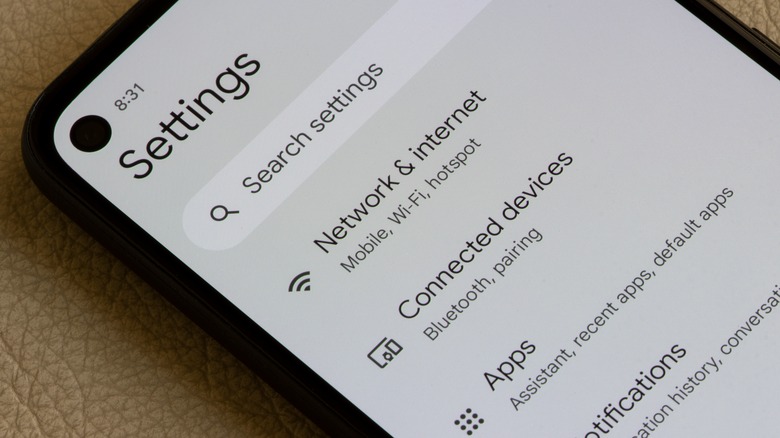
Even if you disable the Android Auto app and unpair your devices, the process may still launch automatically if you connect your phone to your car — even if it’s just to charge it or play music. To really seal the deal, you’ll want to disable Android Auto’s auto-startup functionality to prevent it from even launching in the first place.
Open your Android phone’s Settings app.
Type “Android Auto” into the search bar.
Tap on Android Auto in the search results to see its settings.
Tap the “Start Android Auto automatically” option.
If it is available, tap Disable.
If you cannot fully disable it, tap “If used on last drive.”
If you enable the “If used on last drive” option, Android Auto will still turn on automatically the next time you plug your phone in, but you can just exit out of it. The next time you plug in, it shouldn’t activate automatically anymore.


