Waze, the popular navigation app known for irritating police departments and giving drivers access to fun celebrity voices, is far more robust than one may expect upon first launching it. The app goes beyond mere step-by-step instructions, instead boasting a wide array of features that’ll make life on the road a bit easier for anyone who has a long commute or plans to travel lengthy distances.
Google acquired Waze several years ago for around $1 billion, positioning it alongside its existing Google Maps product as an alternative for drivers who enjoy the fun map icons and appreciate the road hazard alerts. The app has grown substantially since that business deal, adding things like a carpool feature and direct access to audio streaming apps. Here are some tips and tricks for getting the most out of Waze.
Link Waze with music and podcast apps
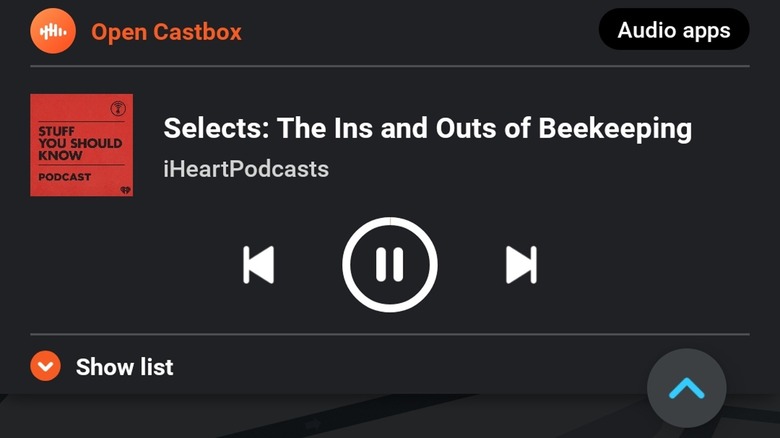
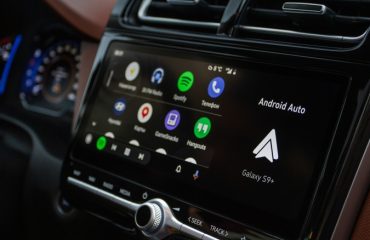
In 2018, Waze launched an audio player beta that has since been available as a standard feature in the app. With the tool, drivers can link select popular streaming platforms like Spotify and Pandora with the navigation app, then access simplified audio playback controls directly in Waze.
This feature is as much about safety as it is convenience, making it possible to play and pause audio and skip to the next track without toggling between two different apps while on the road. To use the audio player, simply tap the bright pink music icon in the upper right-hand corner of the Waze app, then tap your preferred streaming service. You’ll see a prompt confirming the link between the two apps – click it and audio controls will appear within Waze, allowing you to control any music you start streaming.
Choose your vehicle type
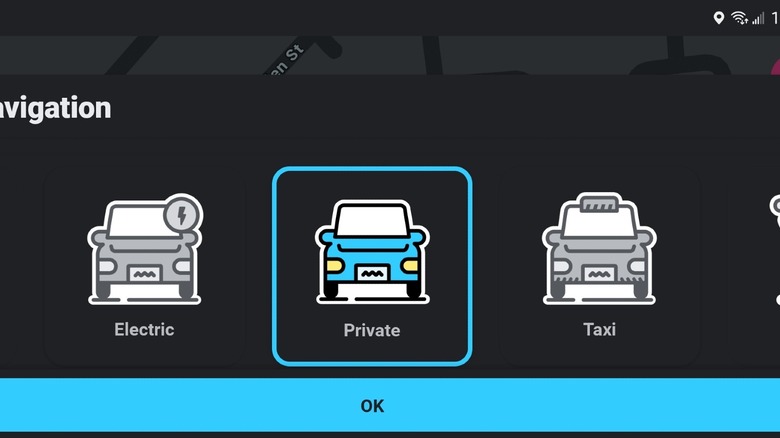
While many drivers are behind the wheel of an ordinary gasoline-powered passenger car, there are a variety of vehicle types on the market and your trip will partly depend on the type of car you’re driving. An electric vehicle owner, for example, will have different route needs than someone who can stop at any nearby gas station, while taxi drivers have entirely different demands compared to people driving their own personal vehicles.
Waze makes it easy to get the specific type of route you need by allowing you to set your vehicle type within the app. This feature includes customization options so that drivers can make sure the route they’re given meets their specific requirements right from the start, such as avoiding unpaved roads if you’re driving a small passenger vehicle that may not be able to handle those environments.
You’ll be prompted to choose your vehicle type the first time you open Waze, but there’s also the option to manually select the kind of car you’re driving by tapping “My Waze,” followed by the gear icon in the upper left corner, “Vehicle details,” and then “Vehicle type.”
Select your HOV and toll passes ahead of time
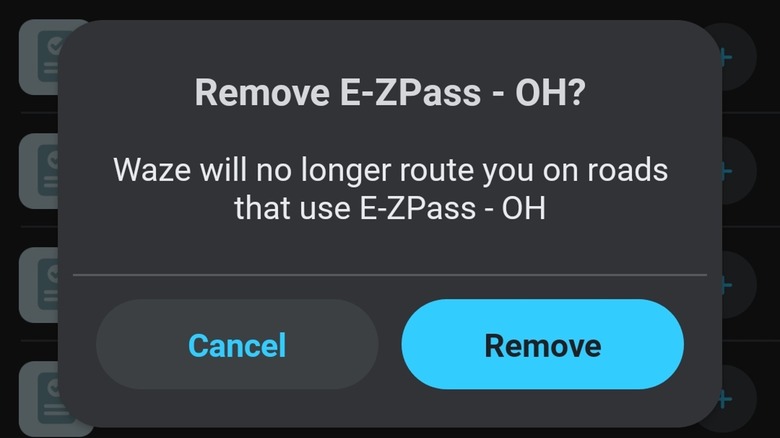
If you live anywhere close to a big city – or if you’re planning a cross-country road trip – there’s a good chance you’ll come across HOV lanes and toll roads. If you’re not careful, your navigation route may include either of these options as part of your trip, potentially costing money you didn’t expect to spend or forcing you to pull over and find an alternative route.
Waze makes it easy to avoid this by allowing users to select whether they have passes for any particular destination, such as an E-ZPass for a specific state’s toll roads. By setting this up ahead of time, Waze will know whether to include these particular locations as part of its navigation instructions. To do this, tap “My Waze,” followed by the gear icon, “Vehicle details,” and then “Toll & HOV passes.”
If you don’t have any passes, you have the option of disabling toll roads entirely under “Settings” > “Navigation” > “Avoid toll roads.” While you’re at it, you can also select “Avoid ferries” on the same menu screen.
Tell Waze to skip things that make you nervous
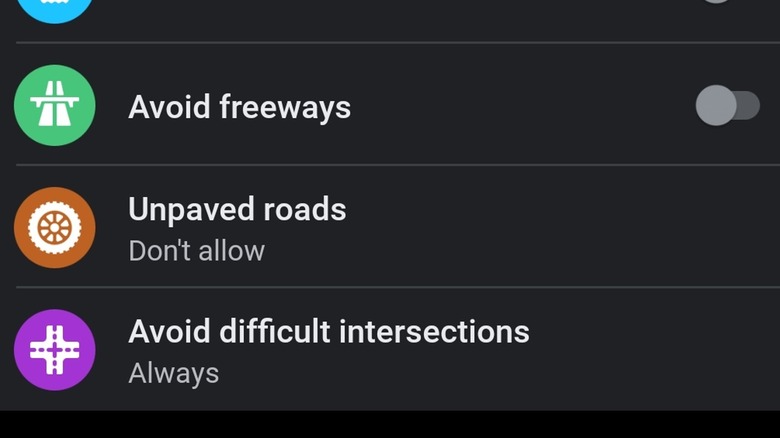
Speaking of avoiding things, Waze also gives users the option of avoiding environments that may be nerve-racking. If you, for example, find it difficult to deal with busy intersections, you can head into “Settings” > “Navigation” > “Avoid difficult intersections” and select “Always” to skip them entirely. When enabled, Waze will choose routes that bypass these chaotic regions in favor of simpler, quieter roads – though keep in mind this may make your trip take a bit longer than usual.
In the same “Navigation” menu, users can also toggle on the setting called “Avoid freeways” to get routes that don’t include highways. The “Unpaved roads” setting, meanwhile, includes the option to only avoid long unpaved streets while still allowing shorter ones that may be easier to handle.
Schedule a trip to avoid delays
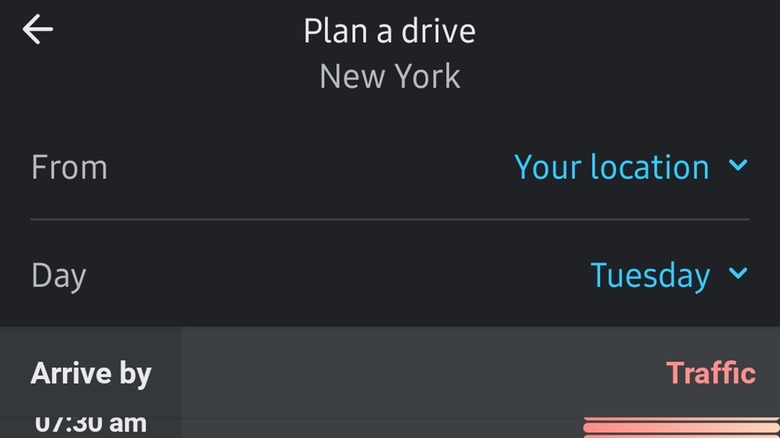
If you know you’ll be heading out on a specific trip in the future, you can schedule it ahead of time to ensure unexpected traffic doesn’t make you late. The feature is very simple to use – open Waze, then tap “Where to?” Input your destination address, then tap “Later” instead of “Go.” The app will show a list of destination times alongside a graph of traffic levels between your start and end locations, each with a suggested “leave by” time so that you know exactly when to hit the road.
This feature is best used for important trips, whether that’s your daily commute to work or a scheduled ride to the doctor’s office. Waze taps its vast traffic data information to estimate how long the route will take based on the time of day you need to arrive at the destination — if you have to get there during rush hour, for example, it’ll estimate that you need to leave considerably earlier than would be necessary for a midday appointment.
Link Waze with your calendar
Digital cloud-based calendars are one of the best things to ever happen in the world of productivity. Many of these apps automatically add events for upcoming appointments, meetings, deliveries, and more based on emails related to them, for example, in addition to the events users add manually.
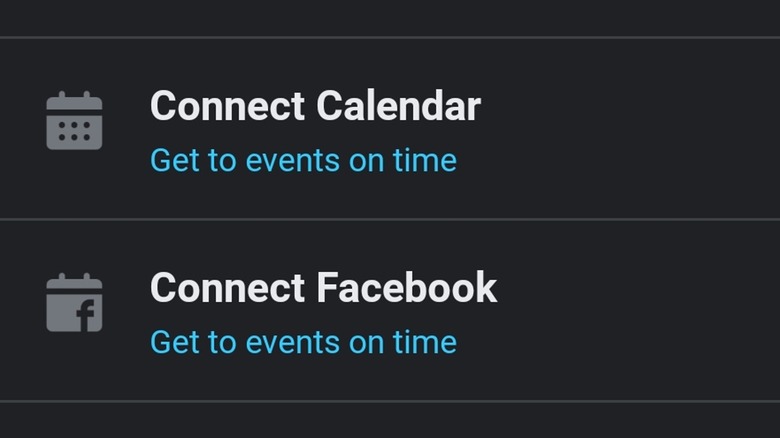
Waze offers you the option of linking the navigation app with a calendar so that you’ll see exactly when you need to leave for a scheduled appointment – though, keep in mind the feature only works if the calendar event includes an address. If you want to set up this feature, tap “My Waze” to open the left-hand menu, then tap “Connect calendar” and accept the prompt that appears. As you may notice while doing this, Waze also has a “Connect Facebook” option in the same menu; when enabled, the app will likewise let you know when you need to leave for events scheduled through the social media platform.
Turn on alerts to avoid mishaps
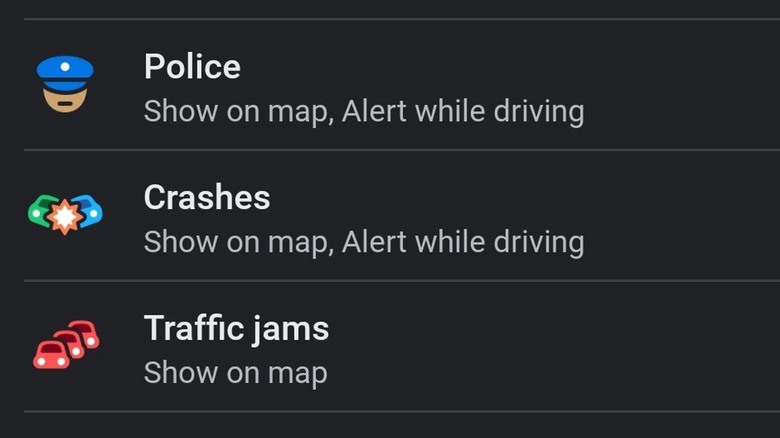
Of course, one of Waze’s most popular features is its alerts – specifically the one that warns when there’s a potential speed trap ahead. Many of these features are crowd-sourced and depend on other riders sharing information about events when they come across them, but it tends to be very accurate and can help give users a heads up about possible hazards in the road, stalled vehicles, traffic stops, weather-related issues, railroad crossings, items on the shoulder of the road, and more.
You can choose which alerts you want to receive and when you want them to show up by tapping “My Waze,” then tapping the gear icon in the left-hand menu to open “Settings.” Scroll down and tap “Alerts and Reports,” then “Reports” to see the full list of options. There are two ways to see these alerts: simply on the map, which would require looking at the screen, or as alerts given while driving.
Tap on each type of alert you want to receive and turn on the toggle for each option you want to enable. Not all alert types are presented audibly while driving, mind; construction reports, for example, will only show up on the map if enabled. This is a good thing, however, as it prevents the driver from being overwhelmed with warnings.
Customize your fuel preferences
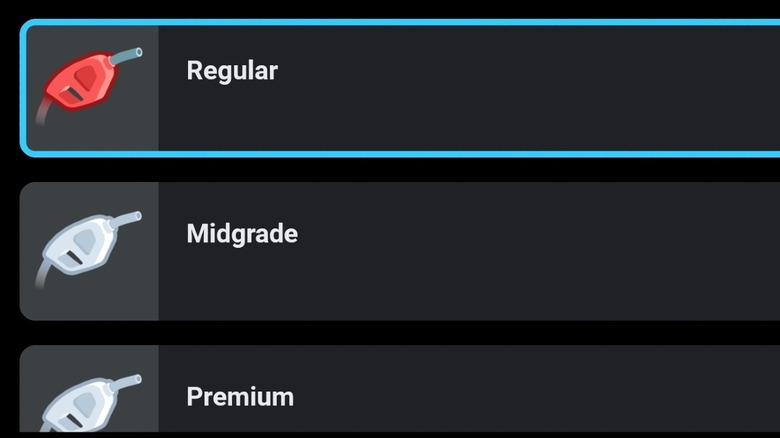
If you’re one of the many people who drive a gas vehicle, you can use Waze to browse nearby gas stations and get a quick look at their current prices. Even better, this information can be tailored to your specific needs if you first select your preferred fuel type within the Waze app.
To do this, tap “My Waze” to open the left-hand menu, then tap the gear icon in the upper left corner to open “Settings.” Scroll down and select “Vehicle details” > “Preferred gas type” to open the fuel options: Regular, Midgrade, Premium, and Diesel. Select the fuel you prefer or need, then head back to the main app screen.
To view nearby stations and fuel prices, tap “Where to?” and then “Gas Stations.” A list of nearby destinations will be presented, each with the day’s price for the specific type of fuel you selected (diesel, for example), as well as info about the station’s services, including whether it is wheelchair accessible, open 24/7, and the kinds of payment it accepts.
